September 3, 2018 - Character workflow from Maya to Unity
I needed to brush up on some maya skills so I decided to work on this character, Mario, from the awesome youtube channel, Glove And Boots.
So, I approached this task in these steps:
1) Gather Reference Photos
2) Paint orthographic (front and side) views
3) Build a 3D model
- head, hands, legs, beard
4) Rig the easy way using mixamo
5) Adjust joints and paint weights in Maya
6) Import into Unity
7) Attach a looping animation
8) Attach a thirdpersoncontroller
Step 1) Gather reference photos
This is more difficult than it sounds. First I tried to google "Glove And Boots Mario" but this is what you get: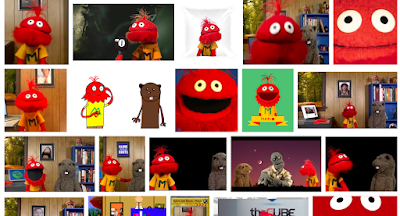
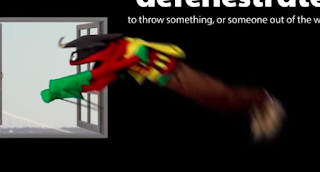
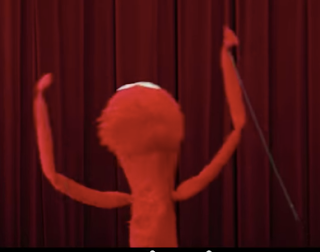
There isn't enough there to create a T-pose in front and side views so I went to the videos and literally watched them for hours capturing frames. It was difficult not to get sucked into some of their hilarious shows like one of their live streams where they were watching people pummel their crotches over and over:
After about an hour of this I was able to capture enough images to piece together Mario's dimensions. I found a pretty good front-face view, 3/4 view, side view, full body, and arm reference:
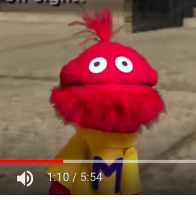
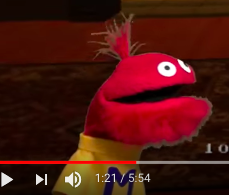
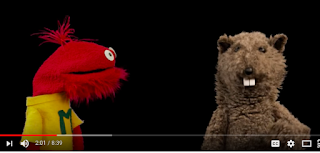
Step #2 - orthographic views
With these images I was able to cut and paste together a front and side orthographic view. I also used this opportunity to work on my painting skills. It's rough but it provides much more information than I need to build a 3D model.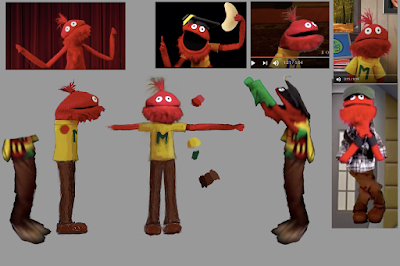
Step #3 - 3D modeling
Modeling is much easier when you have good front/side orthographic images to work off of. All of the effort I put into those images really paid off. So the first thing I did was to import them as image planes in the front and side views: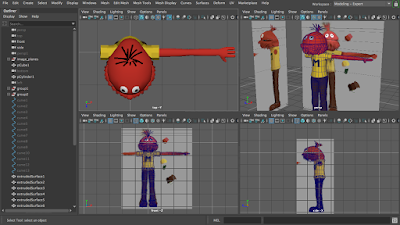
Legs:
I completely stole the legs off of the "malcolm" model that I downloaded from the mixamo.com web site.
Topology:
While building Mario, I wanted to consider the quality of the topology as much as possible for a number of reasons. In this case I am planning to animate this character so the topology needs to deform with the least amount of creases or unwanted artifacts. It also needs to be fairly low resolution since I plan to use it in a game engine, and it's just easier to work with if it's nice and light. While researching hand topology I discovered this web page explaining what edge poles are and how to deal with them http://topologyguides.com/post/175483457845/moving-and-manipulating-edge-poles
Tricky areas:
head / jaw topology - resolving deforming areas where multiple edges intersect need to be placed strategically. I spent a long time placing the corner of the mouth and the 3-edges pole above the eye.
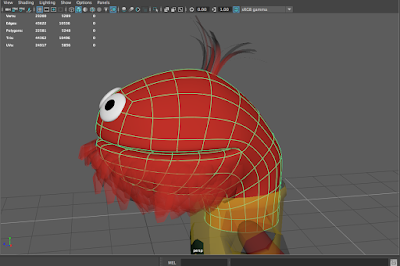
hand topology


Beard geometry:
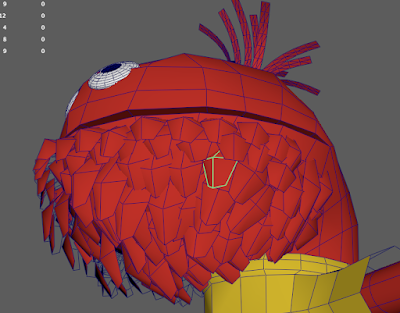
To add Mario's beard I modeled one "leaf" and then duplicated it and snapped each leaf to the head geometry by using the "make live" feature in maya.
I found this tutorial the most helpful:
Step #4 - Rigging
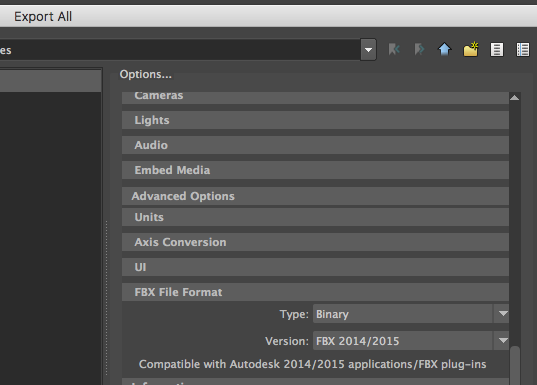
I went the easy route and uploaded my 3d model to mixamo.com to use the auto rigging feature. If I'm remembering correctly I'm pretty sure I had to export using the 2014 fbx compatibility exporter from maya to get mixamo to accept my model.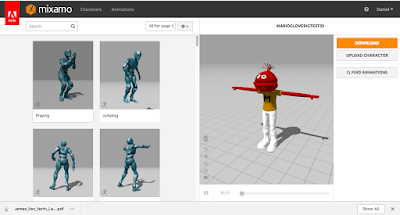
This is the autorig result:
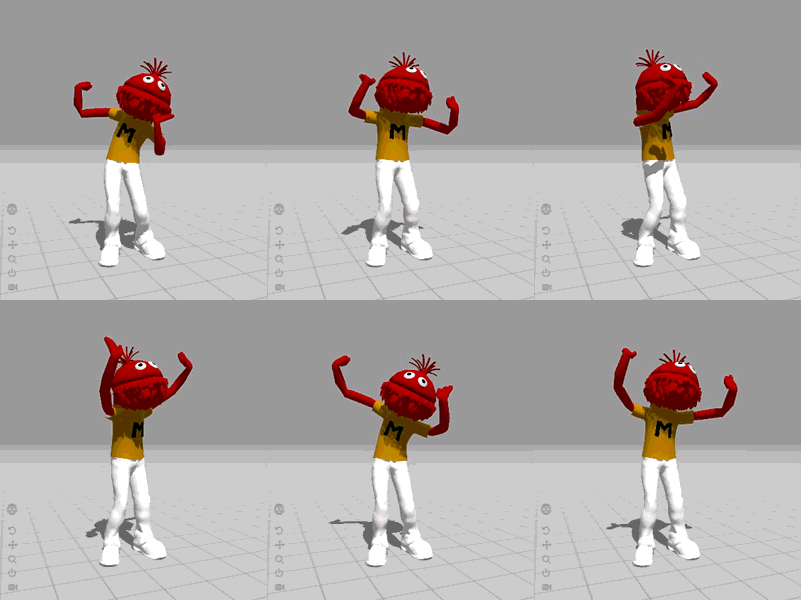
It looks pretty good but the shoulder joints are in the wrong position so now I need to edit the rig in maya.
So I downloaded the rigged model with a dancing animation from mixamo and imported the fbx file into maya:
The first thing I needed to do was to move the location of the shoulder joints. I was able to do this using the Move Joints tool. I found this video helpful.
Step #5 Adjust joints and paint weights
5a: For some reason my bind pose was wonky so I had to fix it...
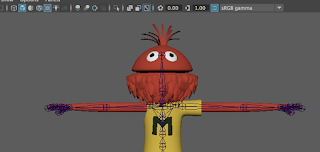
The first thing I noticed after importing the mixamo file was that the bind pose looks wonky. Specifically, the right arm joint was in the wrong position, so I moved it over until it looked correct and now I needed to reset the bind pose, and after some googling I found out this way to do that.
First, you need to delete the old bind pose which is called bindPose1. It will show up in the outliner window if you go to the Display dropdown in the Outliner and uncheck "DAG Objects Only". Then you can start typing bindPose in the search bar to isolate it quickly. So, just select it and delete it.
Now you need to set the bind pose so you just need to select the highest joint in the rig and type in this mel command:
dagPose -bp -save;
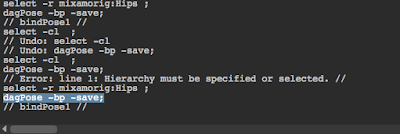
I made it a shelf button so I don't have to remember the command.
Step #5b Moving skinned joints
I still needed to correct the location of the arm joints.
Here, the right arm joint is too far out.
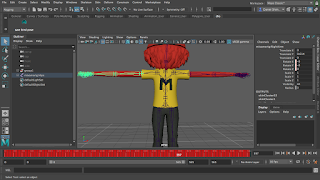
Under the Skin menu, you can choose the Move Skinned Joints tool.
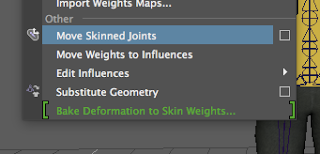
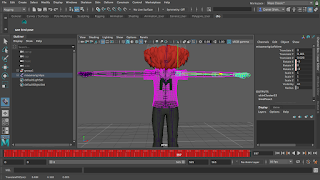
And then move the joint using the manipulator.
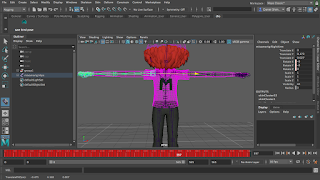
And also move the other side.
Step #5c: Paint skin weights
After moving the joints the animation looks wrong because the joints aren't influencing the correct points.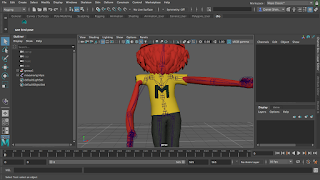
So now we need to paint weights.
Start by selecting the geometry you want to paint, I'll select the t-shirt/torso and then choose the Paint Skin Weights tool:
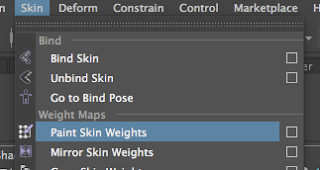
Bring up the tool settings window and select the joint whose weights you'd like to paint. Here I'm selecting the mixamorig:LeftArm joint
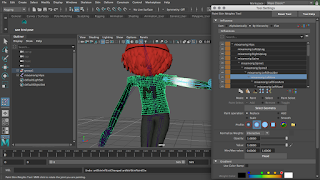
And this image shows the result after painting weights giving more influence to the arm and t-shirt nearest to the shoulder area. In this image you can see that I'm using "Replace" mode for painting and the Value is set to 1 for maximum influence in that area.
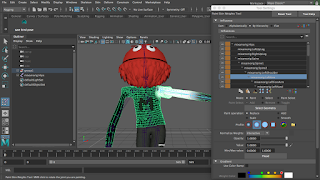
And then do the right arm:
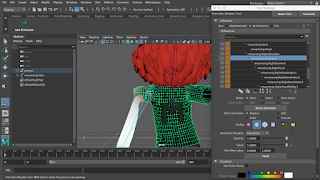
right arm after painting weights:
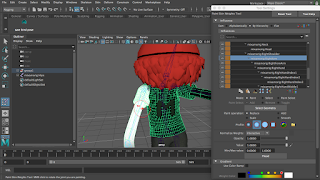
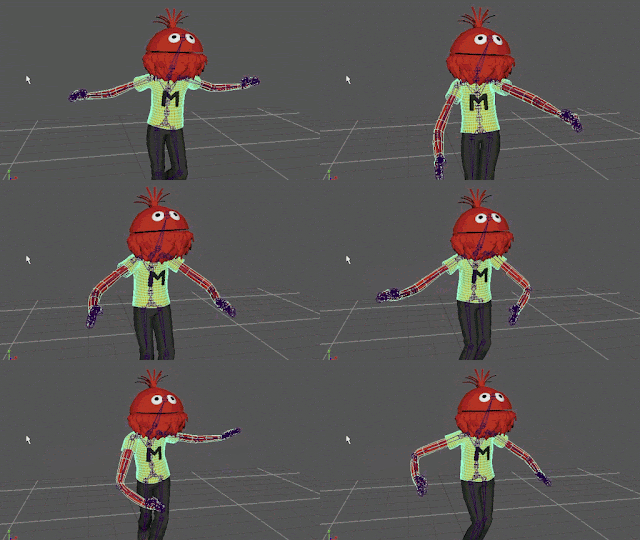
After fixing the shoulder joints:
Step #6 Export from Maya / Import into Unity
I was in a rush to get this asset into Unity to establish a valid workflow even though I'm not totally satisfied with the model or rig. So, it's a simple process, export the asset out of maya as an fbx. Just to stay consistent I still exported in the same fbx 2014/2015 format:Maya Export settings:
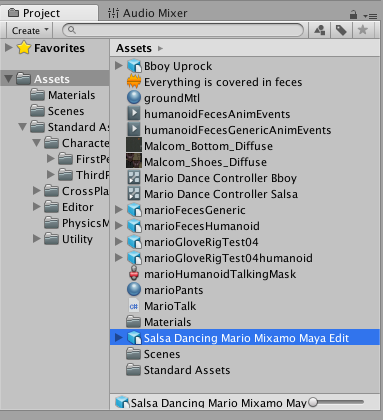
My prefered method of importing into Unity is to drag from the Finder (mac) or File Explorer (win) into the Unity Project pane into whatever directory you chose. Since I'm being lazy I imported directly in to the root level of the Assets folder.
The tricky part is getting the scale and the rig version correct so you still have some work to do. You can drag this asset up into a scene if you want and through some trial and error you can find your scale and rig settings that work. But the real tricky part is whether your animations are compatible with your rig version. Since I'm using the mixamo salsa dancing animation and I think I chose an abnormal rig (3-finger rig?) when I was in mixamo, I had to choose generic as the rig type.
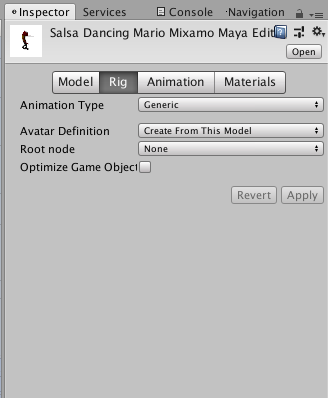
Through trial and error I found a good scale value:
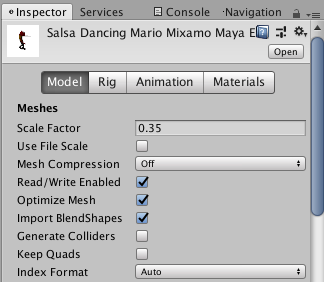
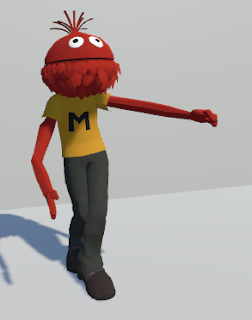
And this is the final result in Unity:
Step 7 - Attach looping animation
If you followed my instructions your character wouldn't be dancing around because it's still missing the Animator Controller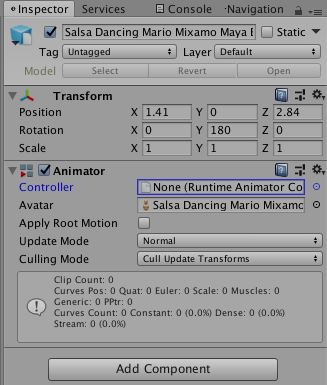
Animator controller:
From the Project Pane select the create menu and choose Animator Controller
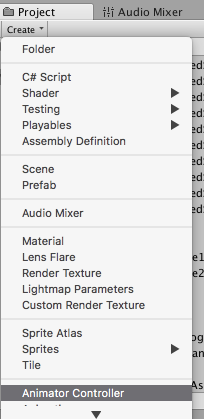
Then name it:

With the new Animator Controller selected in the Project Pane open up an "Animator" Window
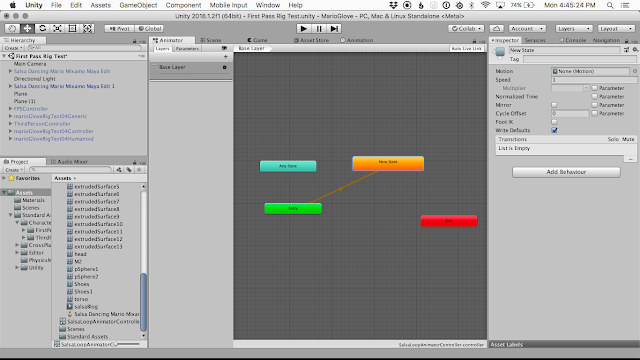
Select the "New State" node and you'll see in the inspector that the "Motion" Field is empty. You need to populate this field with the new salsa animation clip that came in with the fbx file that you just imported. If you made it with mixamo like I did, it will come in with the name "mixamo.com" unless you renamed it like I did in this case to "salsaBlog". I selected this by clicking the button over to the right of the field and then selecting from the list.
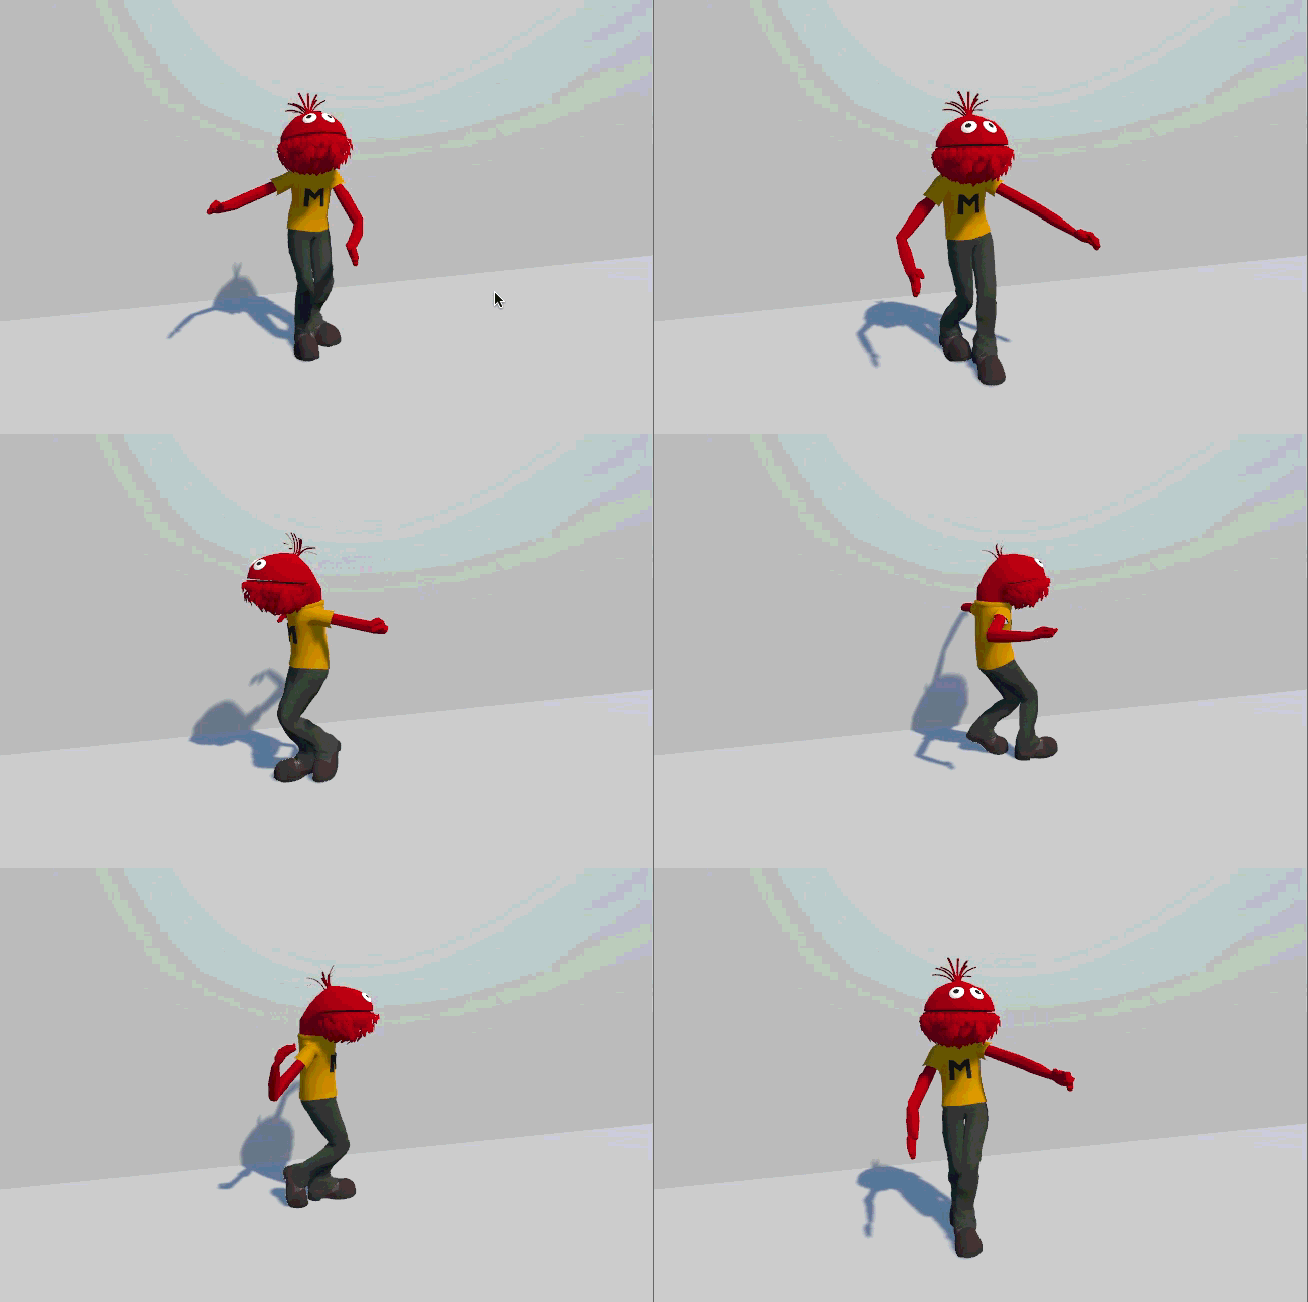
Now if you hit the play button you should see the animation like this:
Step #8 - Attach a thirdpersoncontroller
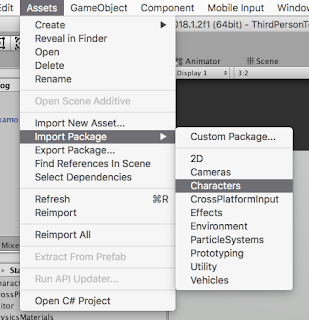
I don't think this blog post would be very useful if I didn't at least share how you can get your character running around in your game. So here goes...Start by importing the Standard Assets Characters Package which has all the scripts and animations you need to control your character.
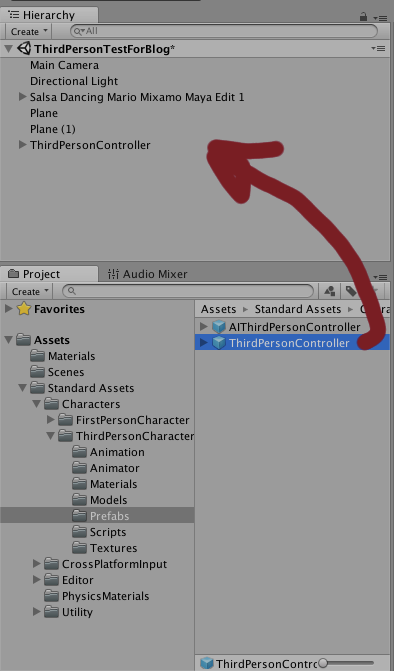
Then drag the ThirdPersonController Prefab up into your scene hierarchy.
Important note: One thing that I need to do for my character is to convert it to a humanoid rig which will allow it to work with the ThirdPersonAnimatorController. For some reason the salsa dancing animation I brought in wasn't compatible with this and that's why I had to choose the generic rig.
Remember, to change the import settings you need to select the asset from within the Project pane's Asset folder, then the import settings will appear in the Inspector window.
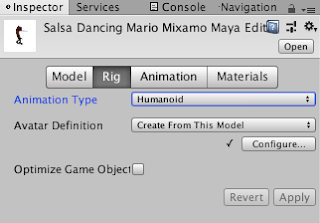
Now you pretty much just need to have the same components that are on the thirdPersonController asset added to your own character. I recommend adding them in this fashion.
Select your character in the scene hierarchy and in the inspector click on the "Add Component" button. Then start typing "ThirdPersonUserControl" until it appears in the window and you can click on it. Because of the way the scripts are written, that one script actually attaches a rigidbody, capsule collider, and third person character script in addition to the third person user control. The most important thing to do now is to center the capsule collider on your character properly. You can copy and paste the values from the thirdPersonController asset but it would make more sense to do this manually. Just make sure that the Height is double the Center Y value.
Then hit play:
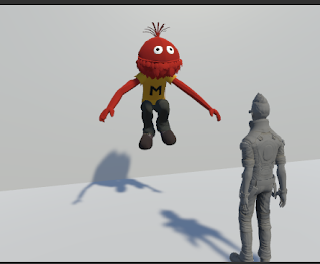
If your character is in a jumping pose floating in the air you can hit the stop button and try adjusting the Ground Check Distance value in the Third Person Character script. The default is .1 but you can try .2 or .3 or whatever until it works.
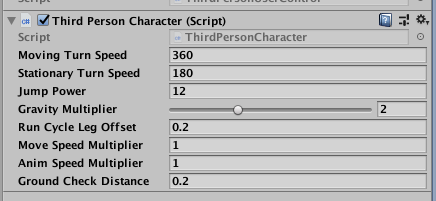
And now we're done!
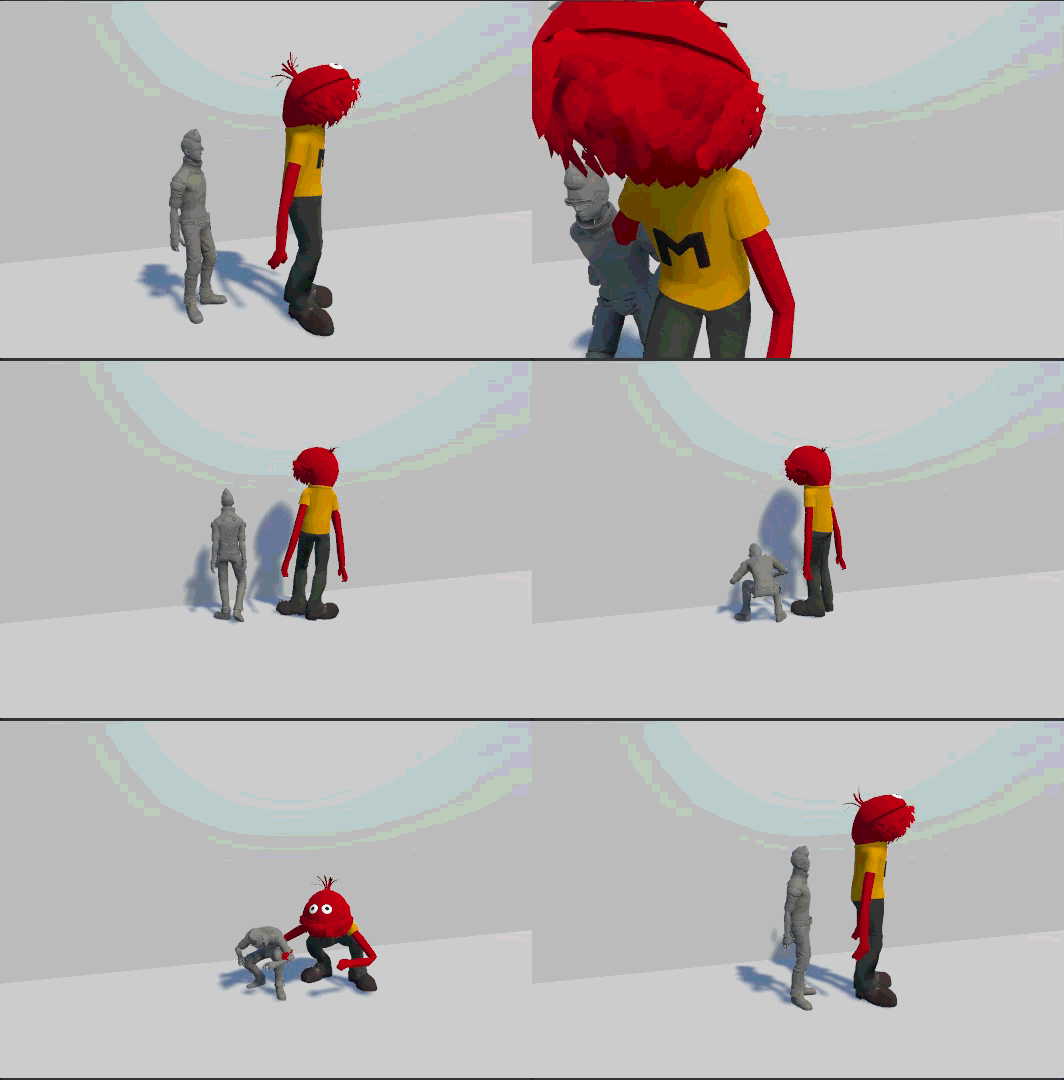
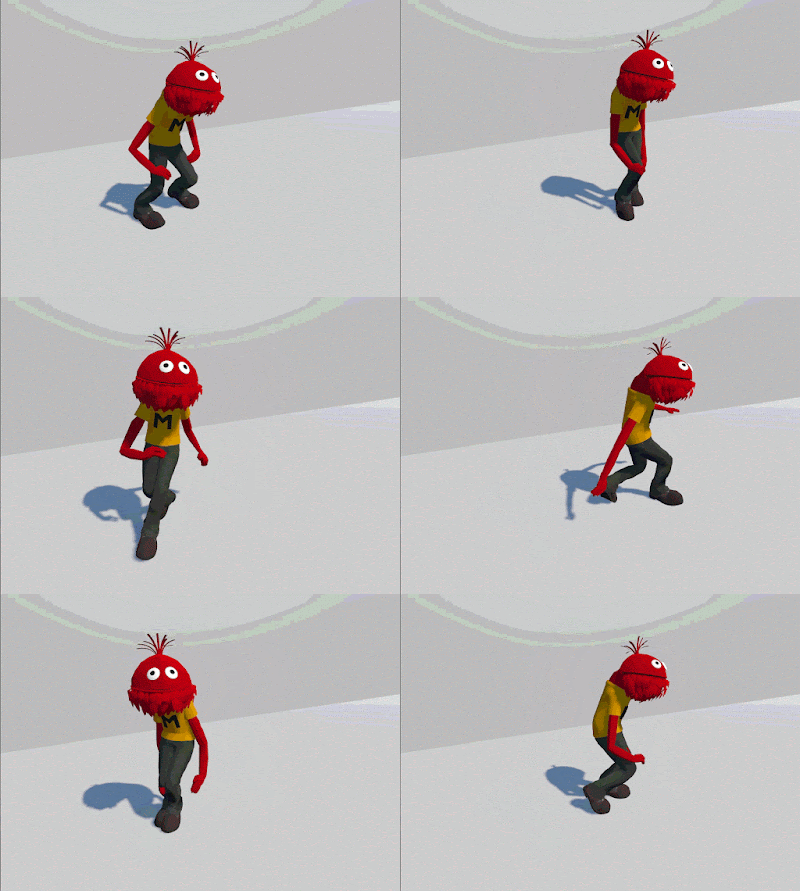
And finally I'll leave you with this thing I've been working on:


Comments
Post a Comment